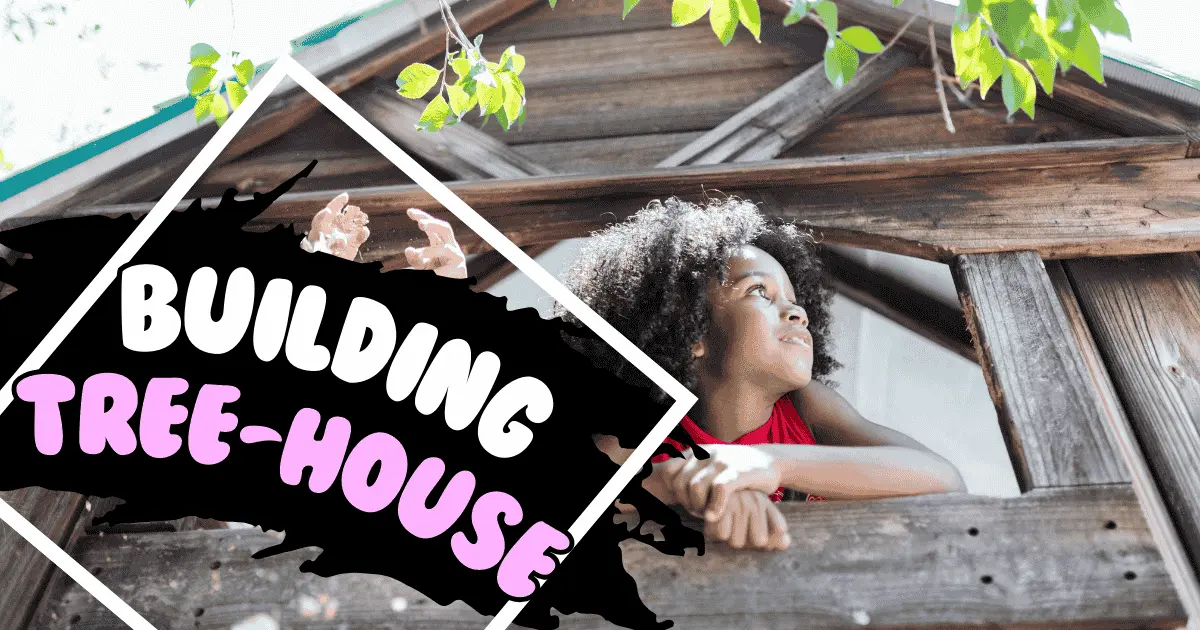
Hello, and welcome to this exciting adventurous post about family fun and creativity! I’m Noor Fatima, your supportive family partner and home consultant, and I’m thrilled to guide you through a project that promises joy, discovery, and cherished memories. Today, we’re exploring the thrilling world of building a treehouse—a unique endeavor that not only fosters outdoor play but also strengthens family bonds. So stay with me till the last, and learn how to build a treehouse in 5 easy DIY steps. Let’s transform that sturdy backyard tree into a magical hideout your kids will adore.
Why Build a Treehouse?
Today is the world of digital age, and in this era making children engage with the outdoors is a huge challenge. To encourage them for some physical activities, this activity is great, and a treehouse offers an irresistible allure, drawing kids away from screens and into nature’s playground. If you ask me then I’ll say that Building a treehouse is more than just a construction project; it’s an opportunity to create lasting family memories and a space uniquely designed for your children’s adventures. It not only inspires unstructured outdoor play, but it also becomes a creative sanctuary, where young imaginations can roam free.
Let’s start building your New Treehouse!
Step 1 Planning and Choosing the Right Tree
Choosing the Right Tree
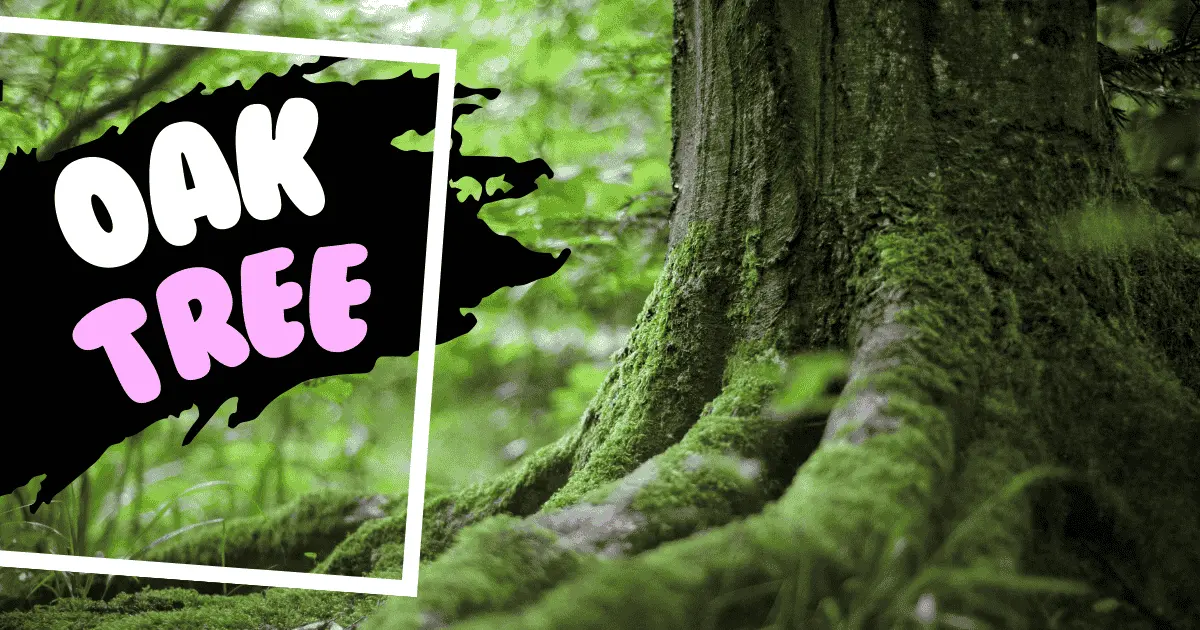
The foundation of any great treehouse is the tree itself, but first, you need a garden or outdoor space at home. Opt for a healthy, mature tree like oak, maple, or fir. These trees provide the strength and stability needed to support your structure safely. Ensure the chosen tree is free of rot and disease, with a trunk diameter of at least 12-15 inches to withstand the weight of your treehouse.
Location Considerations
Select a tree positioned away from power lines and buildings, ensuring safety and accessibility. Ideally, it should be easily accessible from your home yet situated to offer a sense of adventure and privacy for your children. The space around the tree should be free from obstacles, providing a safe environment for play.
Safety Considerations
Before building, inspect the tree thoroughly. Look for signs of disease or rot, which could jeopardize the stability of your treehouse. A healthy tree ensures that your children’s haven is safe and secure. Consider hiring an arborist if you’re unsure about the tree’s condition.

Step 2 Gathering Materials
Essential Materials
To bring your treehouse vision to life, gather high-quality materials. Opt for pressure-treated wood like cedar or redwood, known for their durability and resistance to the elements. Secure the structure with heavy-duty screws rather than nails, providing a robust framework.
Tools Required
Equip yourself with essential tools such as a hammer, drill, saw, measuring tape, and level. Safety equipment, including gloves and goggles, is crucial to protect yourself during construction. Having the right tools ensures that the building process is smooth and efficient.
Additional Materials
Consider additional touches like roofing materials to protect against rain and paint or sealants to preserve the wood. Adding outdoor furniture or accessories creates a cozy ambiance within the treehouse, making it a welcoming retreat for your children.
Step 3 Building the Platform
Setting Up the Platform
Start by measuring the space available for your treehouse platform. An 8×8-foot platform is typical but adjust according to your tree’s size and the available space. Construct the base using beams and joists, securing them firmly to the tree with brackets or lag screws.
Constructing the Base
Creating a stable base is crucial for your treehouse’s safety. Use strong beams and joists to form a square or rectangular platform. Secure them to the tree, ensuring a solid foundation that’s capable of supporting the entire structure.
Securing the Platform
With the base in place, add support beams for additional stability. Depending on the tree’s height, extra reinforcement may be necessary. A secure platform provides peace of mind, allowing your children to play safely.
Step 4 Building the Walls and Roof
Building the Walls
Measure and construct the walls of the treehouse, choosing between an open-air design or enclosed walls for added privacy and protection. Use pressure-treated lumber or plywood for the walls, ensuring durability and resistance to the elements.
Adding Windows & Openings
For a child-friendly design, incorporate small windows or cutouts. These openings allow children to interact with their surroundings, fostering a connection with nature. Windows also bring in natural light, enhancing the treehouse’s ambiance.
Roofing the Treehouse
Install a roof to waterproof the treehouse, using materials like corrugated metal, shingles, or tarps. Ensure the roof slopes slightly for effective rain runoff, keeping the interior dry and cozy.
Decorating the Treehouse
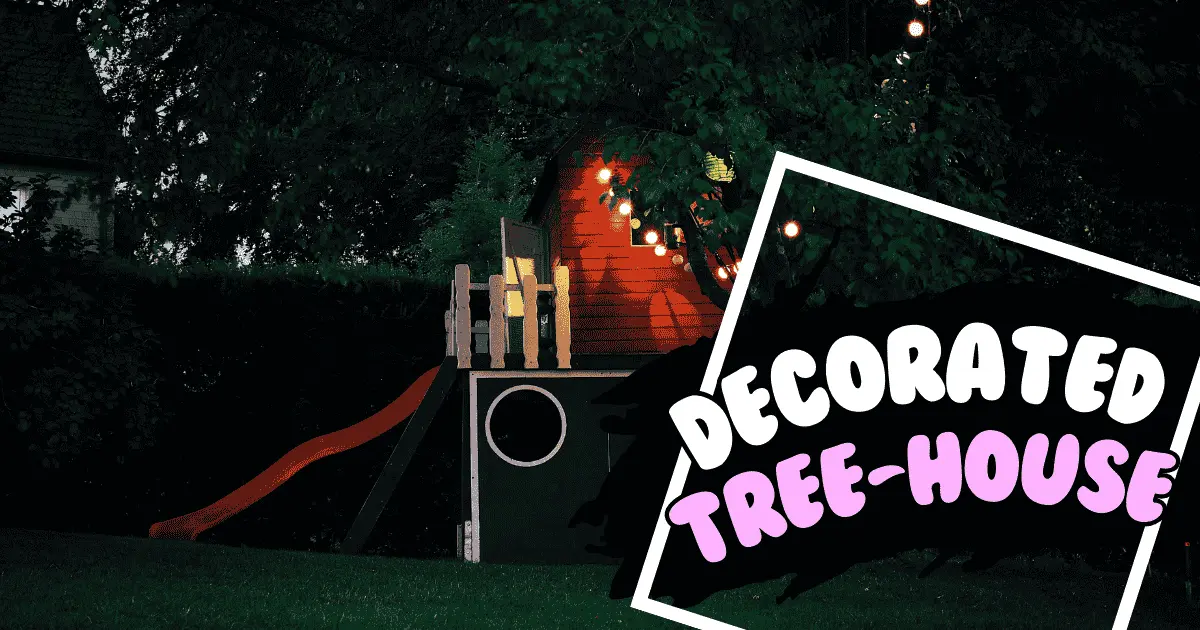
Once the structure is complete, it’s time for the fun part—decorating! Use vibrant colors and fun designs to make the treehouse inviting. Recycled materials can add eco-friendly charm, and engaging your kids in the decoration process makes it a collaborative family project.

Step 5 Safety Features
Adding Safety Features
Safety is paramount. Install sturdy guardrails around the platform, especially for younger children. A firm ladder with handrails ensures easy and safe access, providing peace of mind for parents.
Non-Slip Flooring
Cover the floor with a non-slip surface like outdoor carpeting or rubber mats. This reduces the risk of slips and falls, ensuring a safe environment for play, regardless of the weather.
Regular Safety Checks
Conduct periodic safety checks to ensure the treehouse remains secure. Address any loose nails, screws, or structural issues promptly, maintaining a safe haven for childhood adventures. You can also read my post on 7-Step Guide for Essential Home Safety here!
Conclusion Your Treehouse Adventure Begins!
Building a treehouse is a thrilling project that promises joy and discovery for your family. From selecting the perfect tree to adding personal touches, each step of the process is a chance to create cherished memories. Now that you have the blueprint, it’s time to gather your materials, involve your kids, and start building. This adventure is as much about the journey as the destination, so enjoy every moment and watch as your children delight in their new outdoor sanctuary.
FAQs
How long does it take to build a treehouse?
The timeline for building a treehouse varies based on complexity. A simple design may take a weekend, while more intricate structures can span several weeks. Consider your design and available time when planning your project.
What type of tree is best for building a treehouse?
Hardwood trees like oak, maple, or cedar are ideal due to their stability and strength. These trees provide a solid foundation, ensuring the safety and longevity of your treehouse.
How much does it cost to build a treehouse?
The cost depends on materials and design complexity. On average, building a treehouse ranges from $500 to $2,000. Budget for quality materials to ensure durability and safety.
Can I build a treehouse in a small tree?
Smaller trees may not support large treehouses, but they can accommodate small play platforms or forts. Ensure the tree’s strength and stability before proceeding with construction.
Is it necessary to get a permit to build a treehouse?
Permit requirements vary by location. Check with local authorities to determine if a permit is needed, especially for larger structures. Compliance ensures safety and legal peace of mind.
